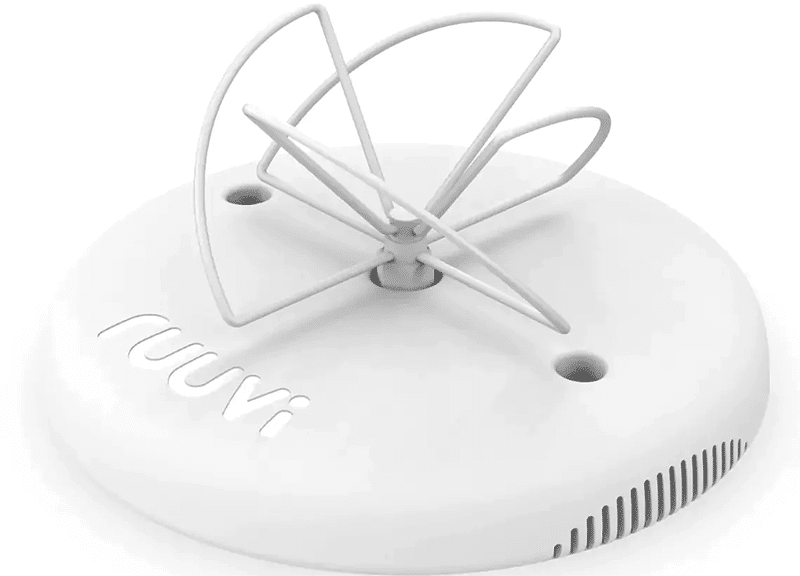
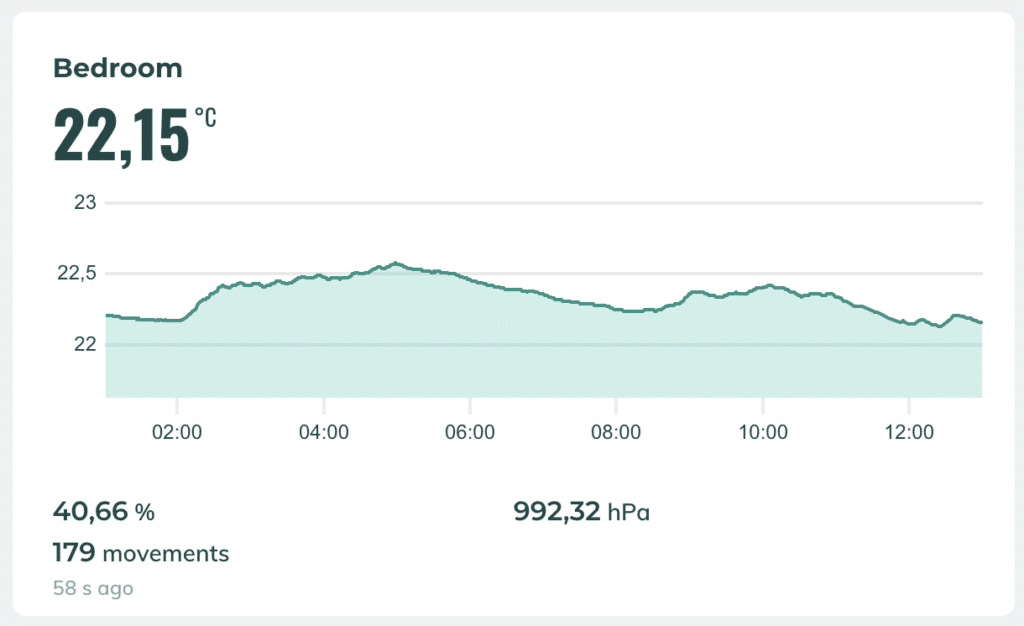
Ruuvi is a Finnish company producing high quality sensors that measure temperature, humidity, air pressure and motion. They have two types of sensors RuuviTag and RuuviTag Pro. The pro sensors are meant for harsher conditions and there’s a version that can be submerged in water. I have both types of sensors and even the non pro ones have lasted quite well outside in Finnish winter conditions as well as in sauna.
The sensors use Bluetooth BLE to advertise the measurements. With Home Assistant 2022.12 there’s native integration for ruuvi that uses Home Assistant bluetooth capabilities. Its downside is short range which can be extended with ESPHome bluetooth proxy. For my house I would need quite a few ESP32 devices to get that to work and that integration was not available when I setup my system.

My setup uses Ruuvi Gateway which amazingly can pickup signal from all of my RuuviTags. The gateway is not cheap but I think it’s worth it. The gateway transmits the measurements to Ruuvi Station or you can make it just send them to MQTT topic for further processing. I have both not that I use the Ruuvi Station all that often because I send the data to Influx DB also and use Grafana to graph them.

I use RuuviBridge to do the MQTT measurements and bridge the ruuvitag message to different sources as well as limit the frequency of updates to not flood Home Assistant with measurements. RuuviBridge has built-in Home Assistant support but I found it little lacking because it didn’t use persistent identifier for the sensors it created. So I still use it to do all the heavy lifting but I adapted my old custom implementation to just do the Home Assistant part with MQTT discovery. You can find the source here and it’s published as Docker image.
Here’s a simple docker-compose.yml to put all of them together.
version: "3.4"
services:
  mqtt:
    image: eclipse-mosquitto
    volumes:
      - ./mosquitto.conf:/mosquitto/config/mosquitto.conf
  ruuvibridge:
    image: ghcr.io/scrin/ruuvibridge
    container_name: ruuvibridge
    restart: unless-stopped
    volumes:
      - ./ruuvibridge/config.yml:/config.yml:ro
    links:
     - mqtt
  ruuvibridge-ha-mqtt:
    image: mikakoivisto/ruuvibridge-ha-mqtt:latest
    container_name: ruuvibridge-ha-mqtt
    restart: unless-stopped
    links:
     - mqtt
    env_file:
      - docker.env
This sample mosquitto config allows anonymous access to the broker hence no username or password for ruuvibridge.
listener 1883
log_dest stdout
allow_anonymous true
This is a minimal configuration for ruuvibridge to listen to MQTT topic for ruuvitag measurements and publish them back to MQTT under topic prefix ruuvitag which is picked up by my Home Assistant MQTT integration. You can also name your tags here and my integration will use those names for RuuviTag sensor attribute names. Using minimum_interval configuration you can prevent RuuviTag from flooding with measurements. For me once every 60 seconds is enough measurements.
mqtt_listener:
  enabled: true
  broker_url: tcp://mqtt:1883
  client_id: RuuviBridgeListener
  #username: ruuvibridge
  #password: ruuvipassword
mqtt_publisher:
  enabled: true
  minimum_interval: 60s
  broker_url: tcp://mqtt:1883
  client_id: RuuviBridgePublisher
  #username: ruuvibridge
  #password: ruuvipassword
  topic_prefix: ruuvitag
tag_names:
  C5450489AF76: Bedroom
  CC2BE24AE159: Kids room
Here’s a docker.env file that is used by ruuvibridge-ha-mqtt for it’s configuration. In this example I’ve limited the attributes I will publish to Home Assistant.
MQTTHOST=mqtt
MQTTPORT=
MQTTUSER=
MQTTPASS=
RUUVITOPIC=ruuvitag
HASSTOPIC=homeassistant/status
DEBUG=app:info,app:error,app:debug
RUUVIATTRIBUTES=temperature,humidity,pressure,dewPoint,batteryVoltage
You also need to setup Home Assistant to use MQTT. It’s activated in Home Assistant configuration.yml simply by adding mqtt: line in it and the in Devices and Integrations UI add the MQTT integration and configure MQTT server host, username and password.

